
Connect a Device to AWS through a MachineQ Gateway Run-through
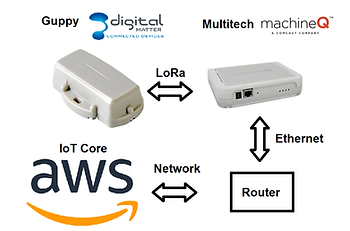
This post is a run-through of the “Connect your MachineQ device through a MachineQ Output Profile directly to Amazon Web Services (AWS).” doc located at [link]. Using a Guppy from digital Matter and MachineQ Multi-Tech MultiConnect® Conduit™ Access Point.
Before you Start
Connect your Guppy to your MachineQ Multi-Tech MultiConnect® Conduit™ Access Point using [these] instructions.
Steps
Create a Thing on AWS
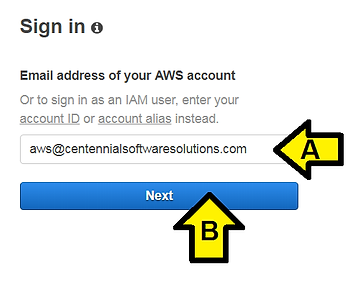
1. Navigate to, and sign in to your AWS account.
I. Sign in at [link]
Note: if you don’t have an account you can create one on the same page. A Free account is fine.
II. (A) Enter your AWS Email address and click (B) Next
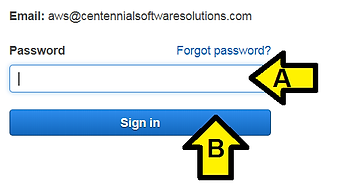
III. (A) Enter your Password and click (B) Next
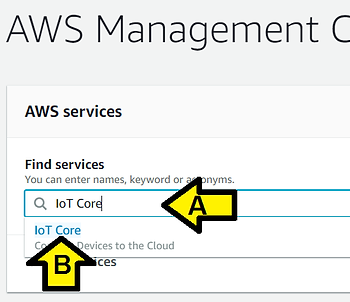
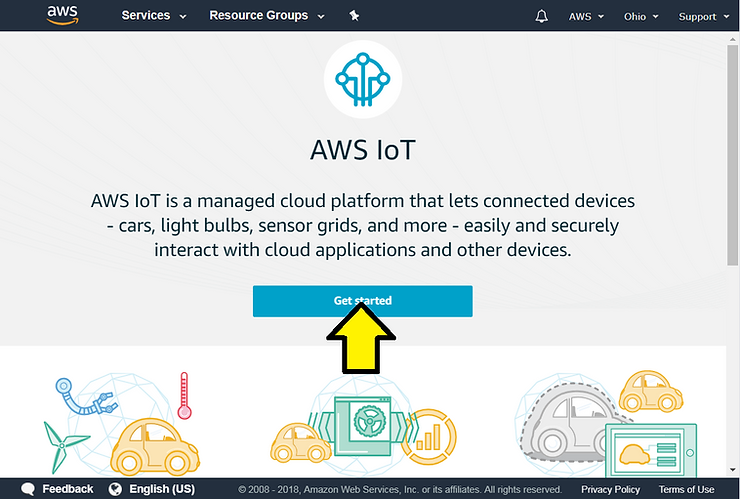
2. Enter the IoT home page by either selecting IoT Core from the AWS services menu, or by searching IoT Core.
I. (A) Enter IoT Core and (B) click IoT Core
II. You may see this page. If you do click Get started
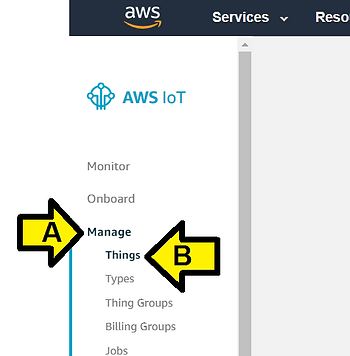
3. On the left hand side, there will be a menu. Choose Manage to expand the menu, and then Things.
(A) Click Manage then (B) Things
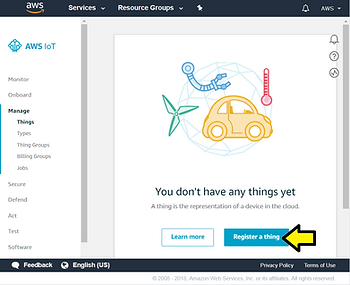
4. If this is your first time on AWS, you will see that you do not have any things. Choose Register a Thing. If you have created a thing before, choose Create from the top right. Choose Create a single thing.
I. Click Register a thing
II. Click the Create a single thing button

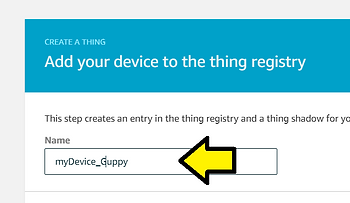
5. Enter a name for the thing, and choose Next.
I. Name your device myDevice_Guppy
II. Leave Apply a type to this thing unset,

Add this thing to a group unset and
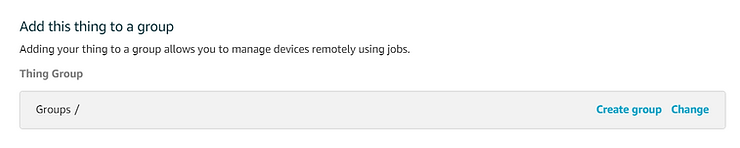
Set searchable thing attributes (optional) unset
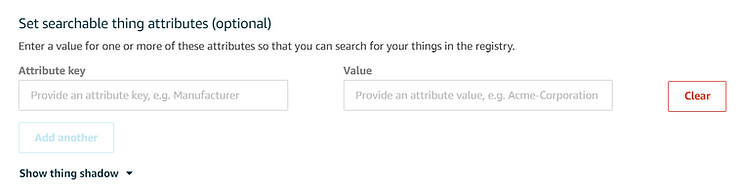
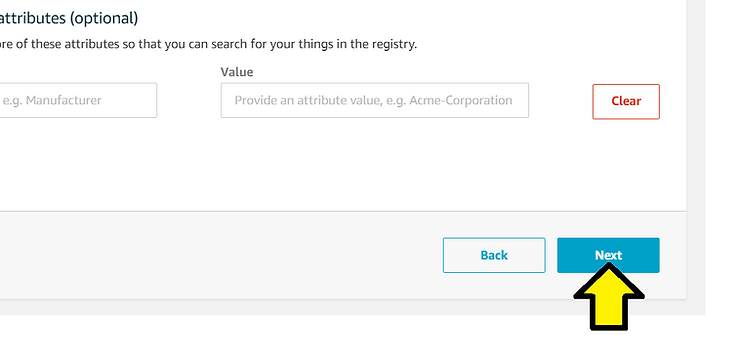
3. Click the Next button
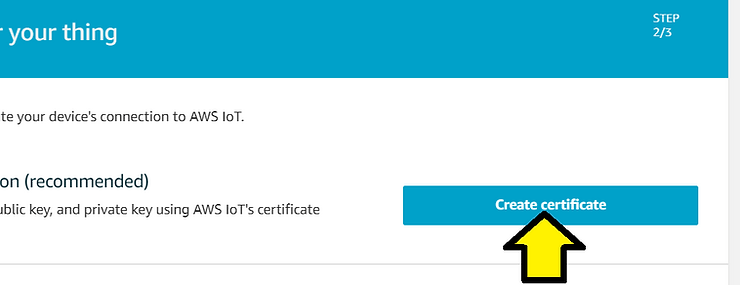
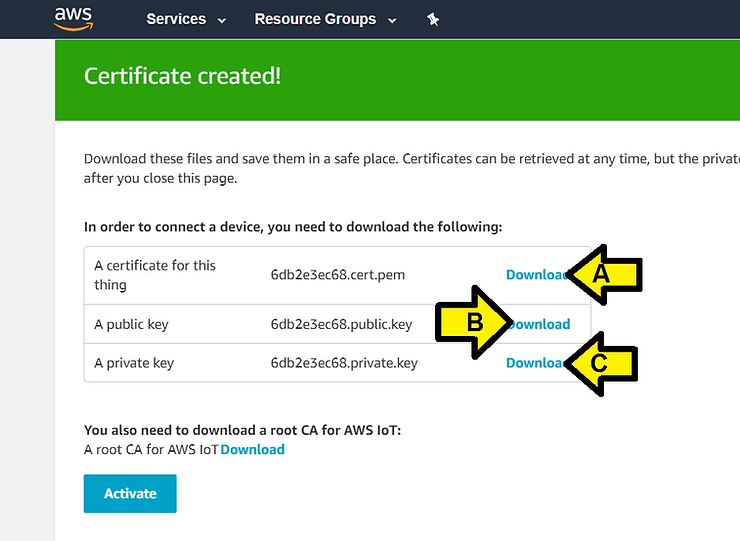
6. Choose Create certificate.
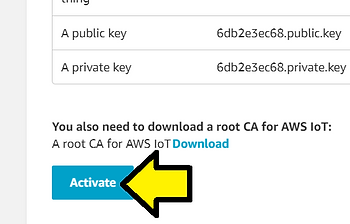
Click on the links to download the x509 certificate, public key, and private key. Save these files to a location you can remember, you will need to enter them into MachineQ. Also download the root CA for AWS. Choose Activate, and then Attach a policy.
I. Create a folder on your PC called c:\awscerts
II. (A) Click to download the certificate for the thing, (B) the public key and (C) the private key to the folder
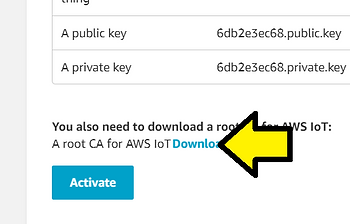
III. Click Download to select a root CA for AWS IoT (takes you to [this] page) (skipping this step)
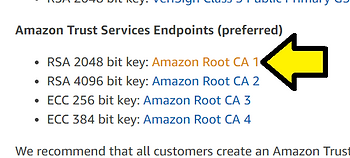
…then click RSA 2048 bit key: Amazon Root CA
You’ll see:
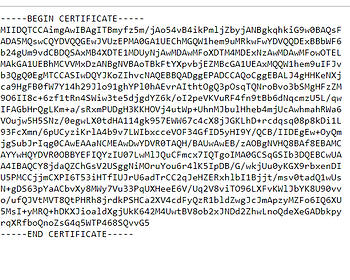
Save this file (AmazonRootCA1.pem at [link]) to c:\awscerts
IV. Click Activate
You’ll see:
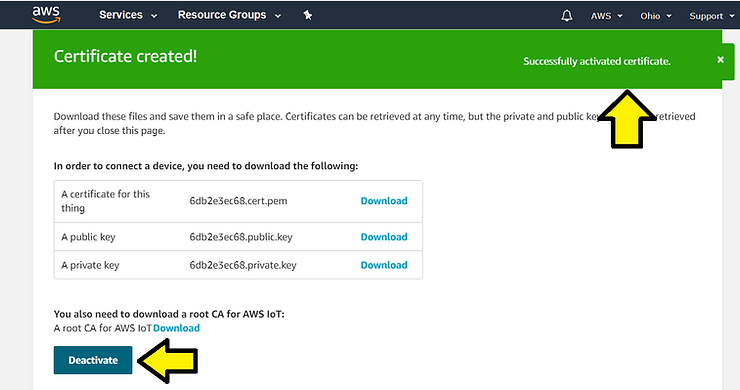
…then the Activation notification disappears:
Note: you can click Deactivate then Activate again. You’ll see notifications each time.
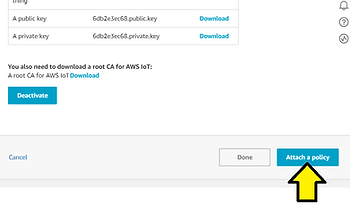
V. Click Attach a policy
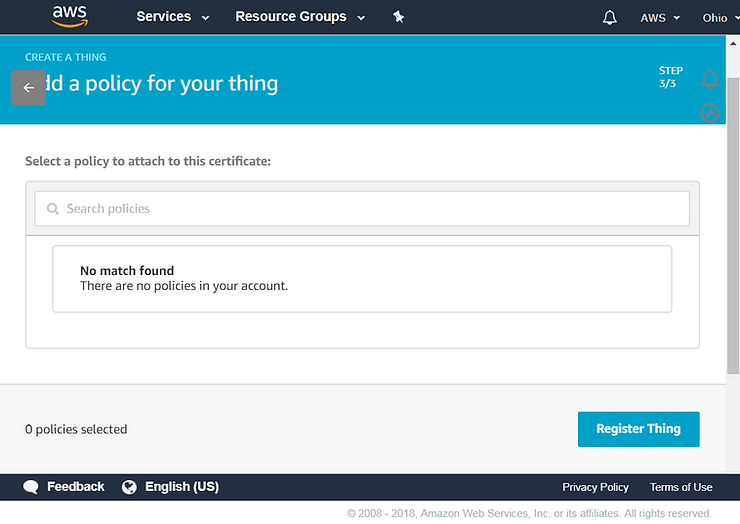
Neither 7 or 8 apply for me (yet):
7. Once on the policy screen, choose Create a new policy. 8. On the Create a policy page, in the Name field, type a name for the policy. In the Action field, type iot:*. In the Resource ARN field, type *. Select the Allow check box. This allows your MachineQ Device to publish messages to AWS IoT.
…instead I see:
Click Register Thing
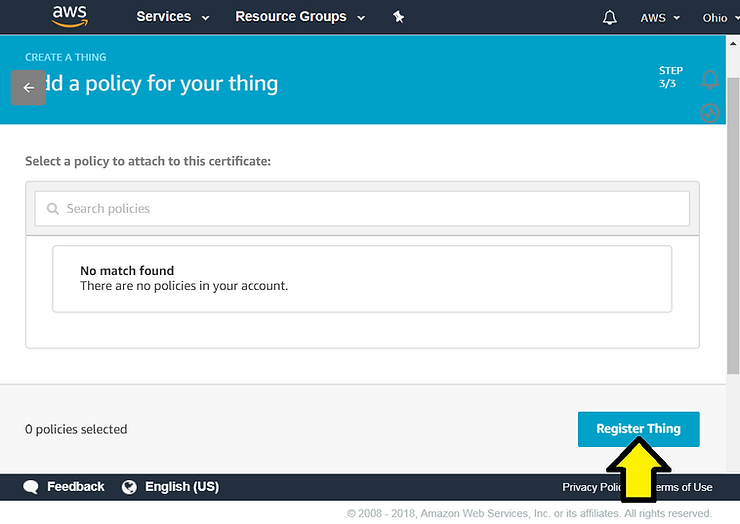
I see:

Back to 7 and 8:
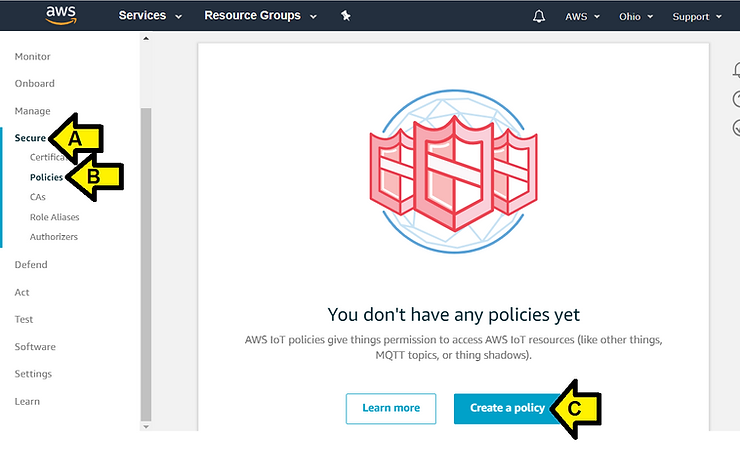
7. Once on the policy screen, choose Create a new policy. 8. On the Create a policy page, in the Name field, type a name for the policy. In the Action field, type iot:*. In the Resource ARN field, type *. Select the Allow check box. This allows your MachineQ Device to publish messages to AWS IoT.
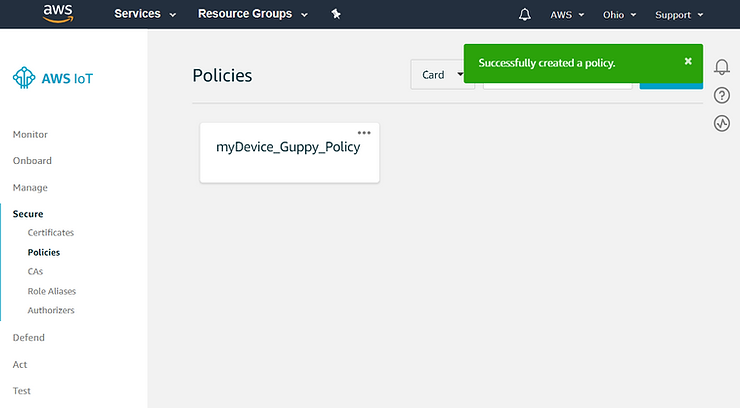
I. (A) Click Secure, (B) click Policies and (C) Create a policy
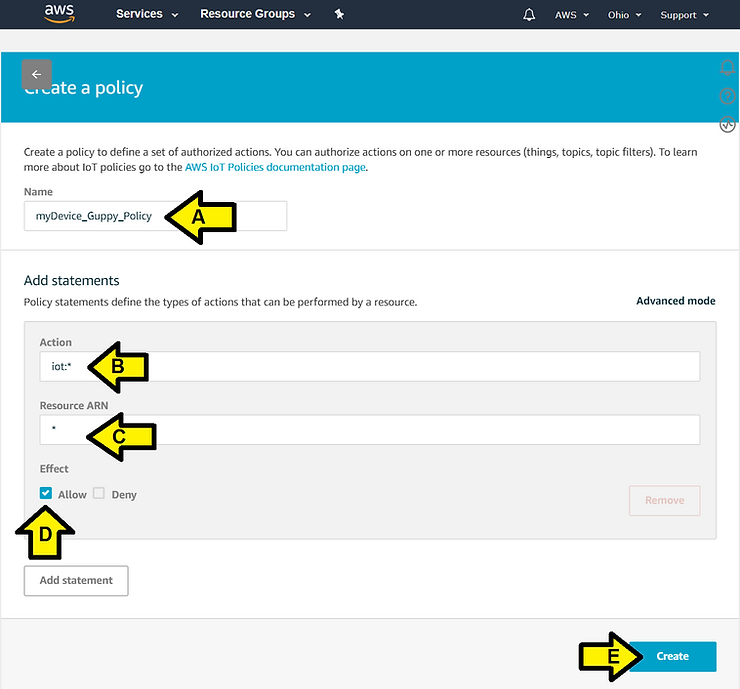
II. Do this:
(A) Name the policy myDevice_Guppy_Policy
(B) Set Action to iot:*
(C) Set Resource ARN to *
(D) Set Effect to Allow
(E) Click the Create button
I saw:
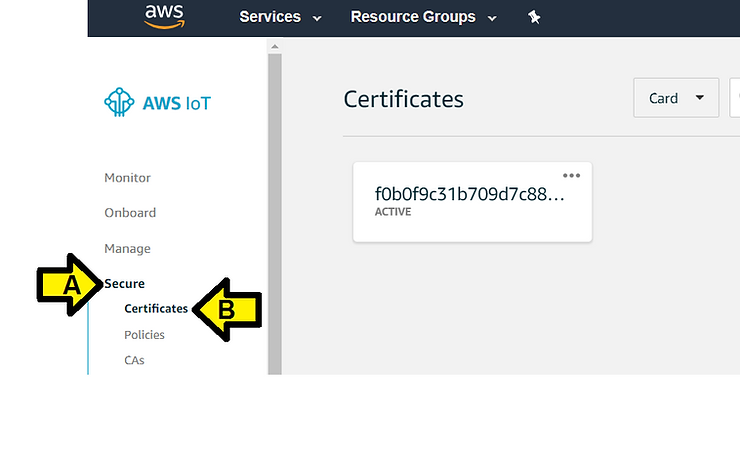
9. In the menu on the left, choose Secure, and then Certificates.
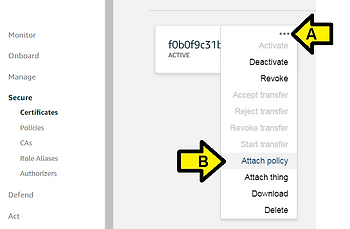
10. In the box for the certificate you created, choose … to open a drop-down menu, and then choose Attach policy.
Click the 3 dots and click Attach policy
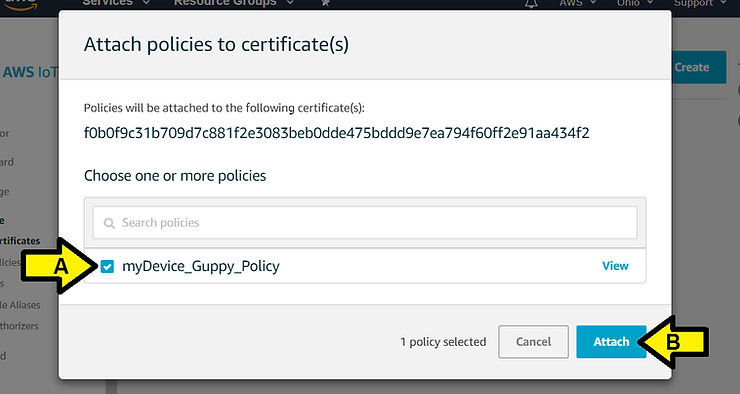
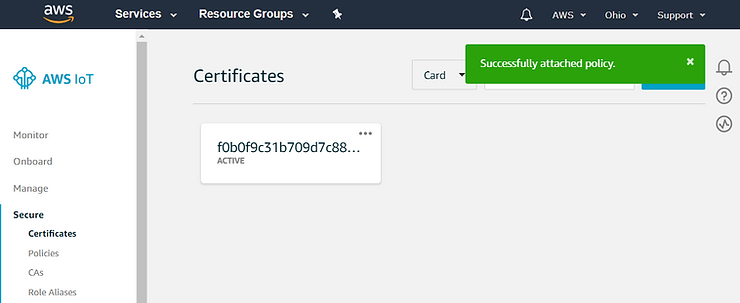
13. In the Attach things to certificate(s) dialog box, select the check box next to the thing you created to represent your MachineQ Device, and then choose Attach.
(A) Click the checkbox by myDevice_Guppy_Policy the click (B) Attach
I see:
14. In the left menu, click on Manage. Click on the newly created device. You will see your device information here.
I. (A) Click Manage and (B) click myDevice_Guppy
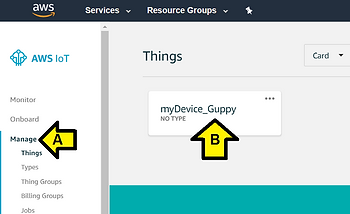
I see:

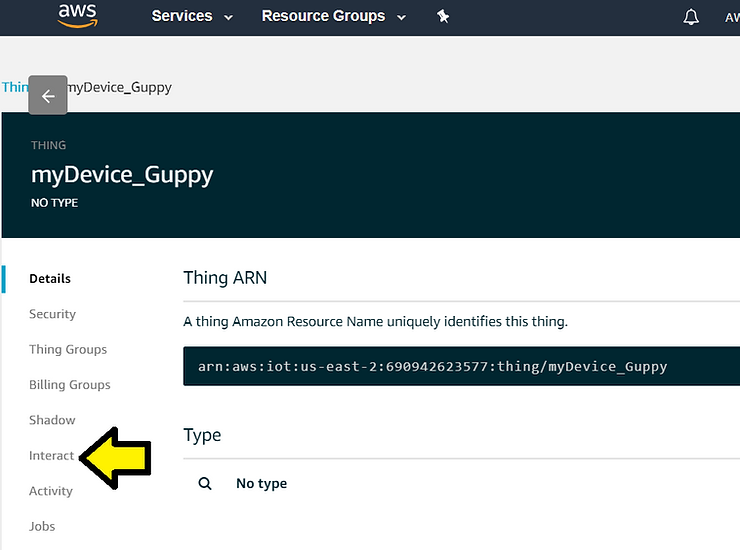
II. Save the Amazon Resource Name in a Notepad and save it to c:\awskeys at ARN.txt
15. In the left menu, choose Interact. Your Endpoint is found under the HTTPS section. Keep a note if this, you will need to enter it into your MachineQ Output Profile.
I. Click Interact
I see:
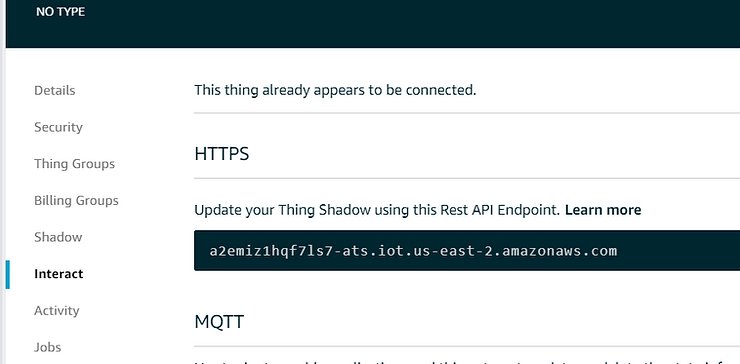
II. Save this string to https.txt in c:\awskeys. This will be what you use in the Endpoint field.
Connect Your AWS Thing to MachineQ
Navigate back to Creating an Output Profile from MachineQ.
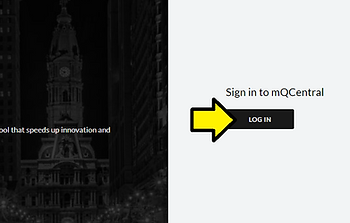
I. Sign into https://mqcentral.machineq.net/
II. Click LOG IN
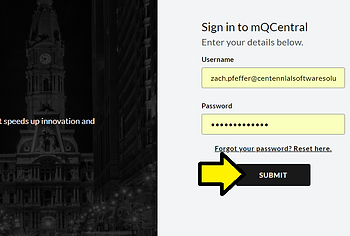
III. Enter your Username and Password and click SUBMIT
IV. Click Integrations

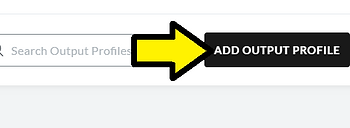
V. Click ADD OUTPUT PROFILE
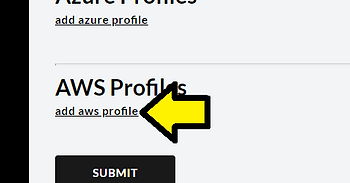
VI. Click add aws profile
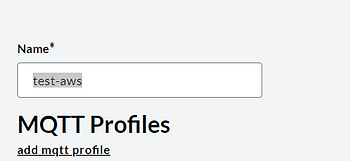
VII. Enter test-aws for the Output Profile Name
Steps 3,4,5,6 distill down into:
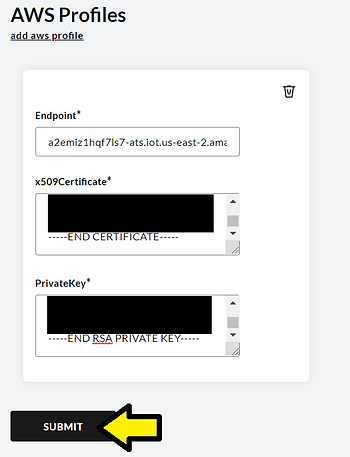
3. Find your certificate and private key files. They will likely be in your Downloads folder, and be titled like this (certificate number)-certificate.pem.cert, and (certificate number)-private.pem.key. 4. Right click on your certificate file, and choose Open With. Open with your favorite text editor (for example, Notepad or TextEdit). 5. Copy all text into the x509 Certificate prompt. This includes the header and footer dashes. created 6. Open the private key with the text editor, and copy all text into the PrivateKey prompt.

7. This is an example of a completed profile. Click Submit at the bottom of the screen.
Click Submit
I see:
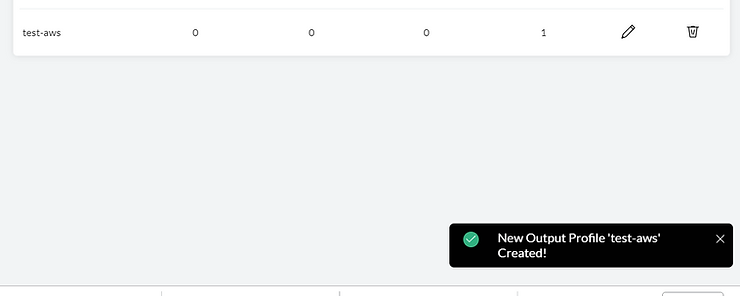
There is one more instruction missing.
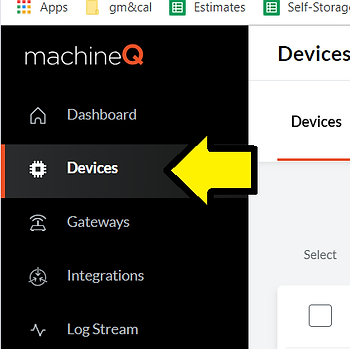
I. Click Devices
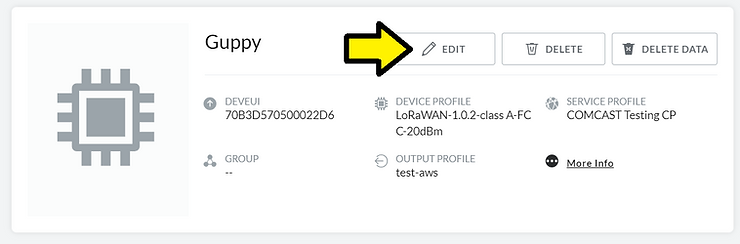
II. Find your Guppy and click Details

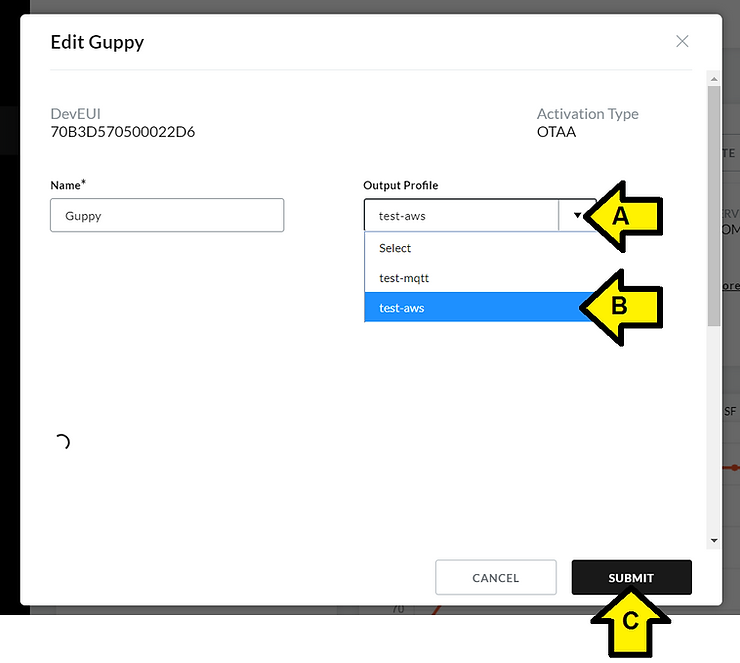
III. Click Edit
IV. (A) Click the Output Profile drop down, (B) click test-aws and (C) click SUBMIT
Confirm Your Data Through AWS
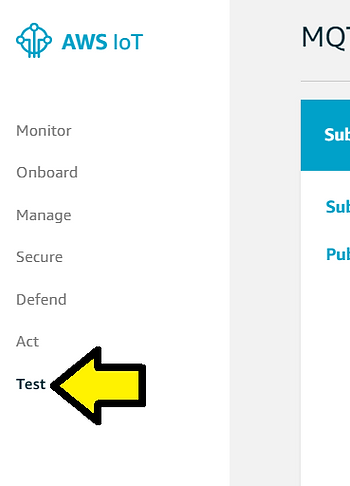
1. Confirm that your data is being sent to AWS by navigating back to AWS. 2. Choose Test on the left hand side.
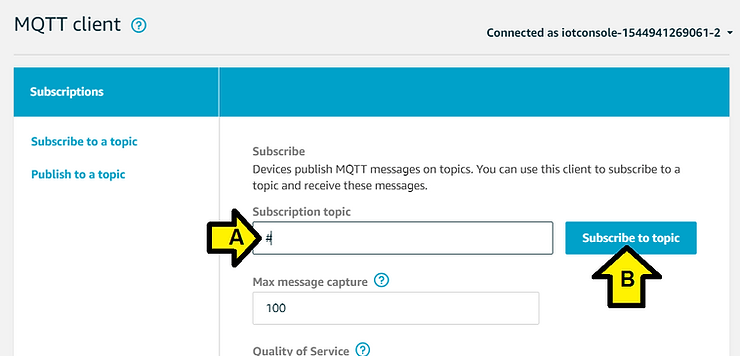
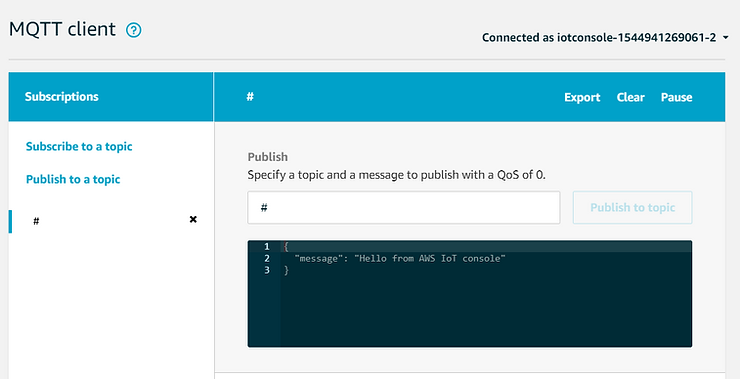
3. Go to Subscribe to a topic. Enter # in the Subscription Topic field, and click Subscribe to topic.
(A) Enter # and (B) click Subscribe to topic
I see:
In a few seconds (seen this take a few minutes) I see (Chrome window zoomed out):
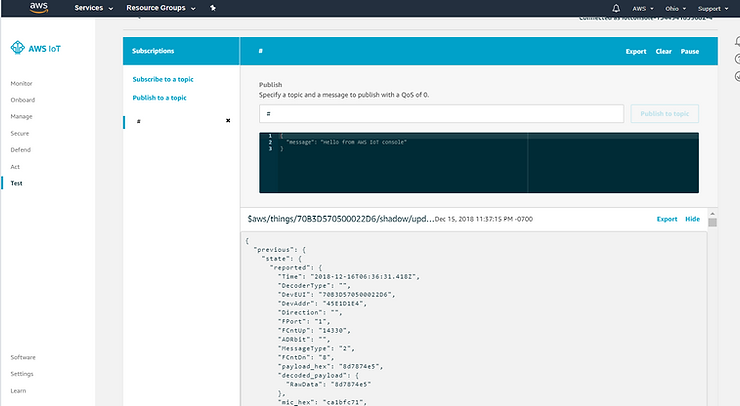
See it working here:
(video_unavalible)
References