
How do I install and use a SmartLynq in a Linux VM on a ZCU102?
![]()
This post shows how to install and use a SmartLynq on a ZCU102 from Vivado 2019.1 running on a Ubuntu 16.04.5 VM managed by VMWare Workstation 14 Player running on Windows 10 Pro.
I also demonstrate that using a SmartLynq results in a 3x speed up over using the JTAG-to-USB device from Digilent.
Assumptions
You’ve install Vivado 2019.1 onto a Ubuntu 16.04.5 VM managed by VMWare Workstation 14 Player running on Windows 10 Pro
Steps
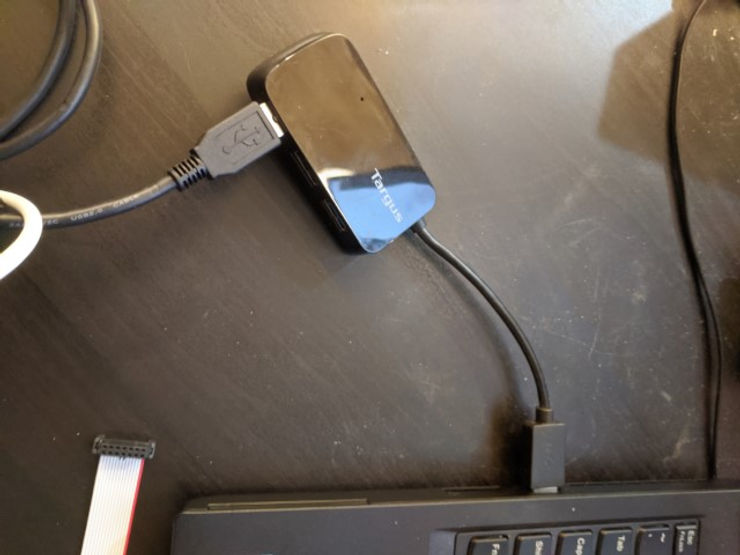
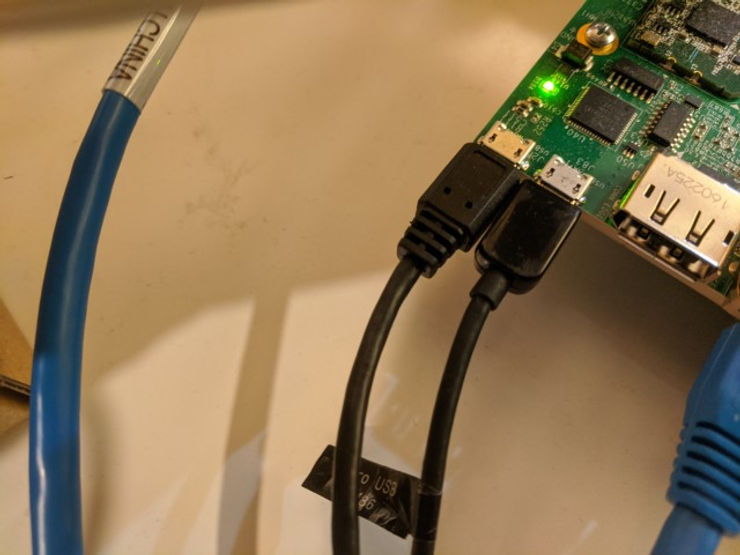
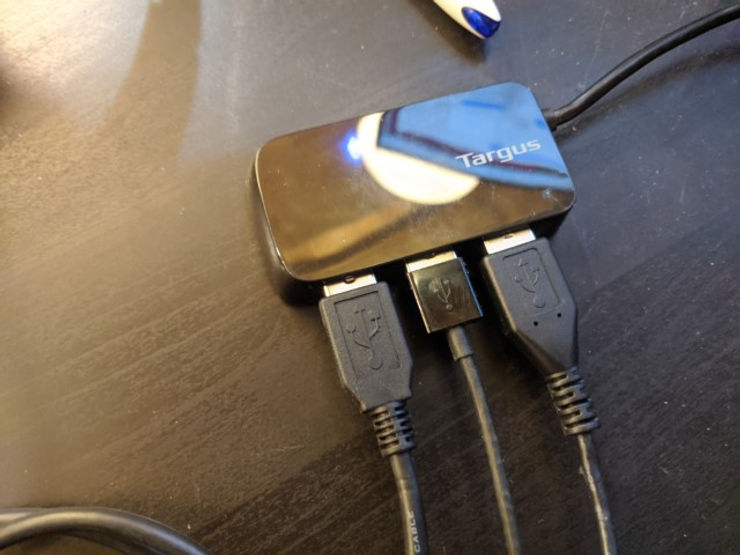
Step #1: Connect the SmartLynq USB cable
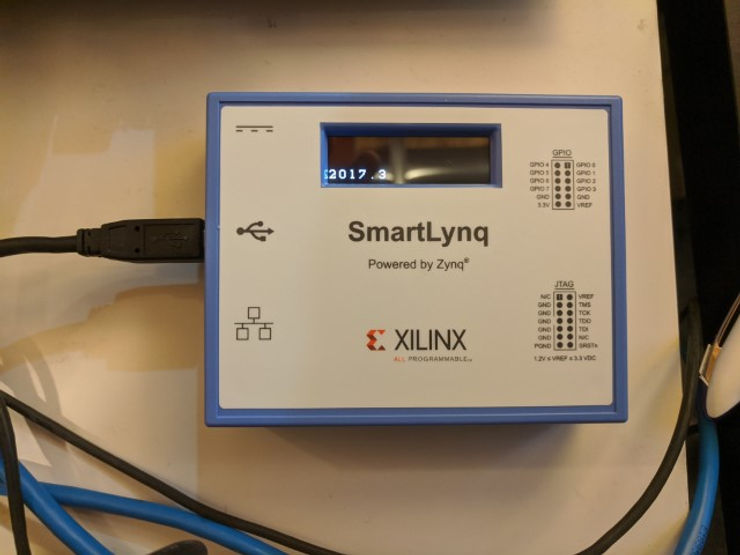
You should see something like:
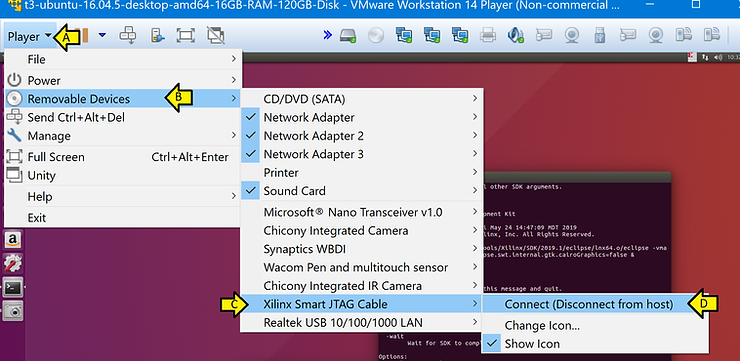
Step #2: Connect to the Xilinx Smart JTAG Cable
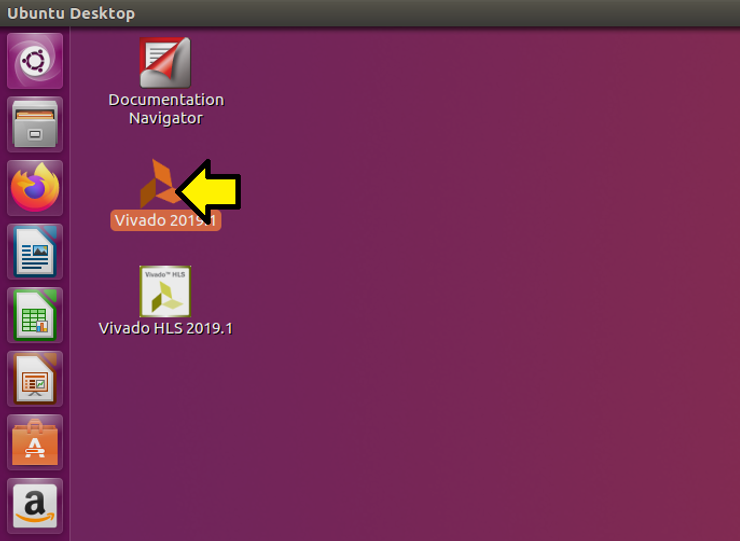
Step #3: Run Vivado
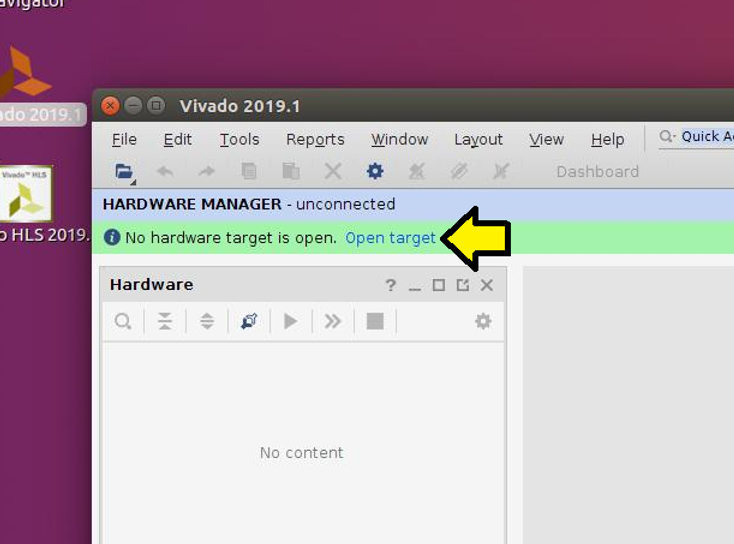
Step #4: Click Open Hardware Manager

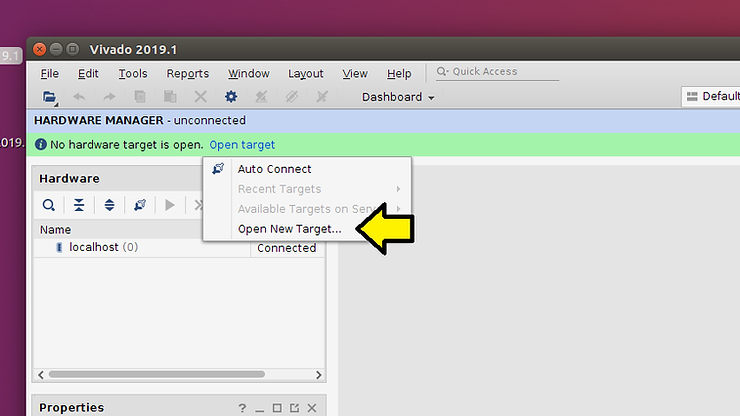
Step #5: Click Open target
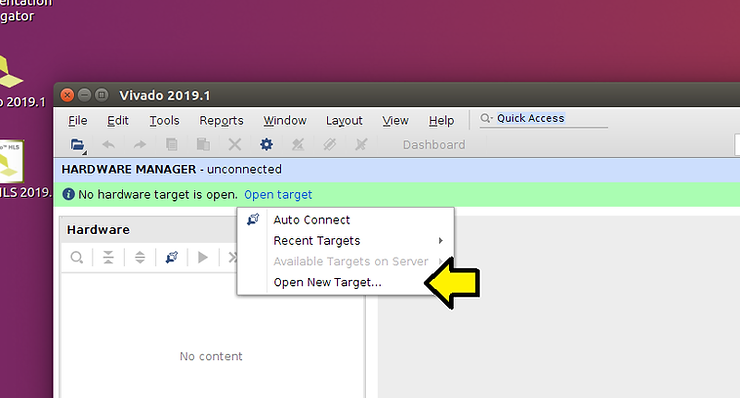
Step #6: Click Open New Target…
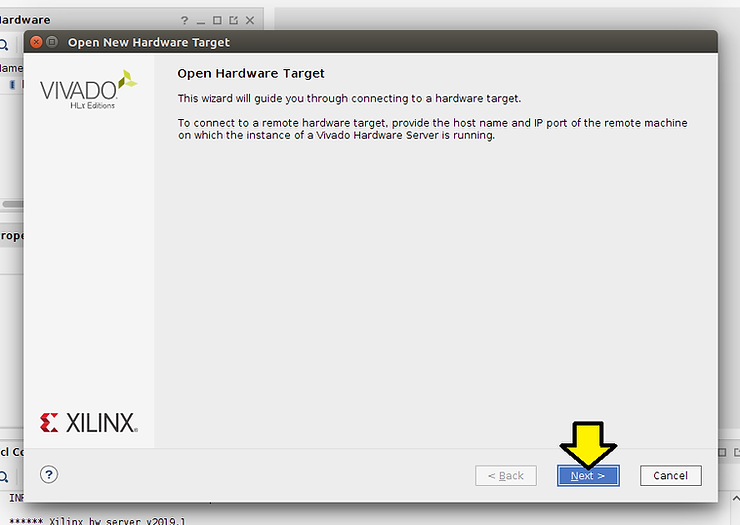
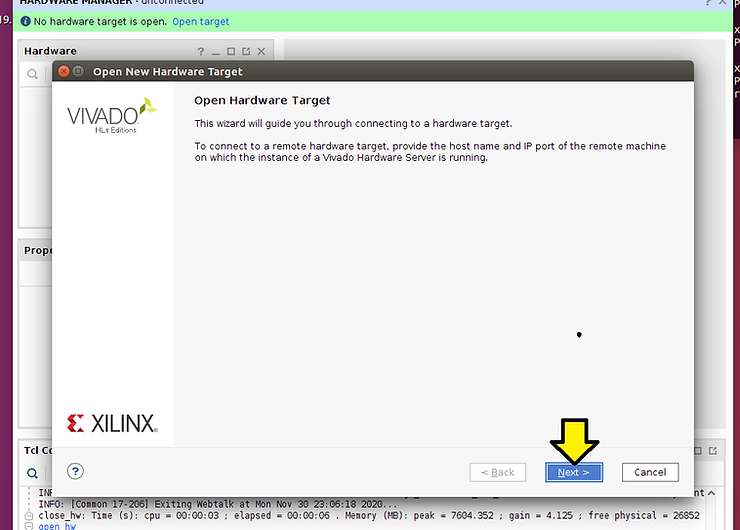
Step #7: Click Next >
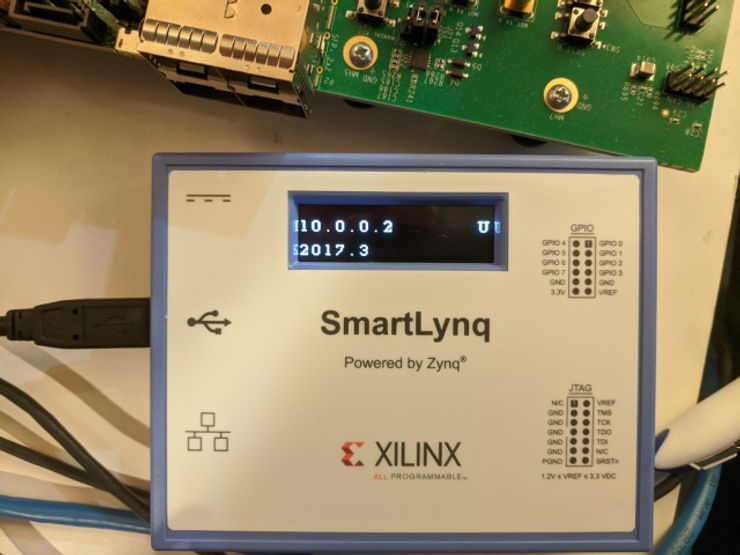
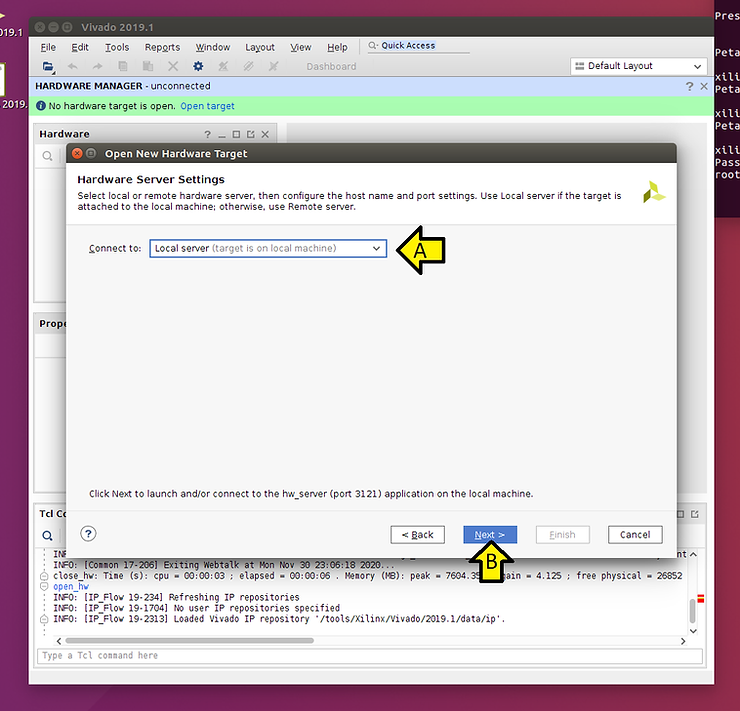
Step #8: (A) Select Remote server, (B) use 10.0.0.2 as shown on the SmartLynq, and (C) click Next >

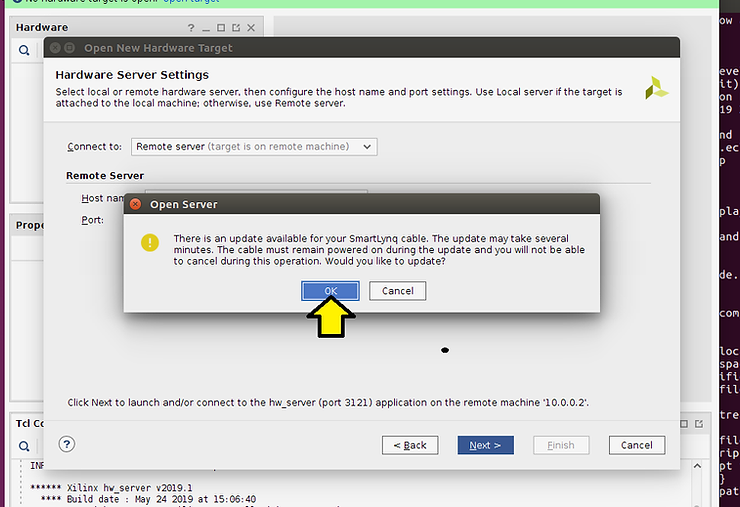
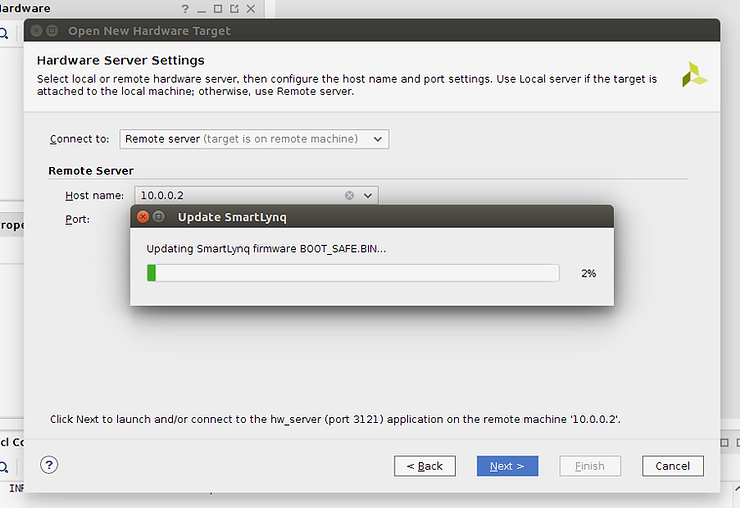
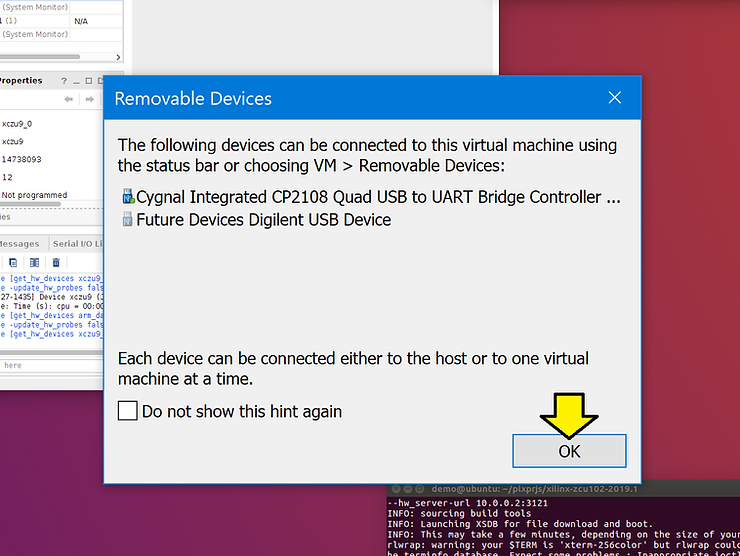
Step #9: Click OK to update if you see this
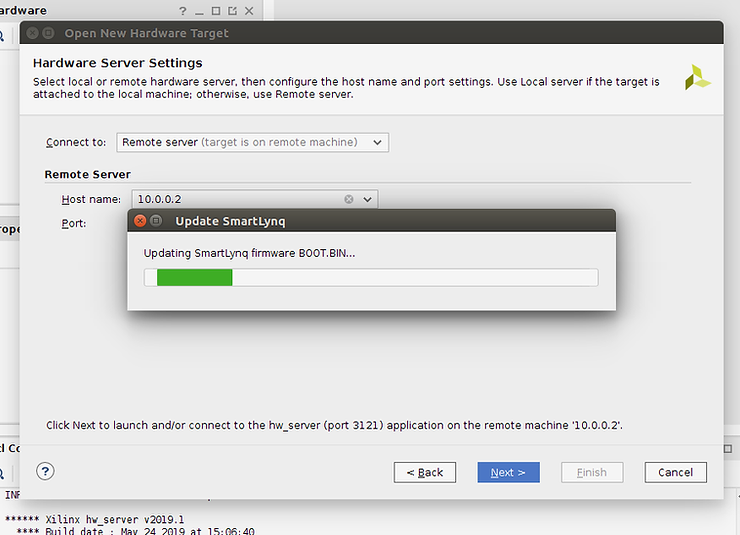
You should see:
…and:
…and on the SmartLynq:
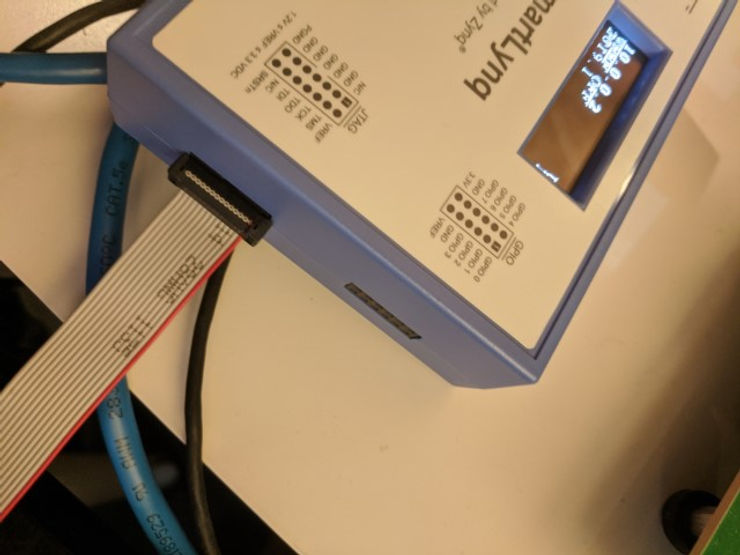
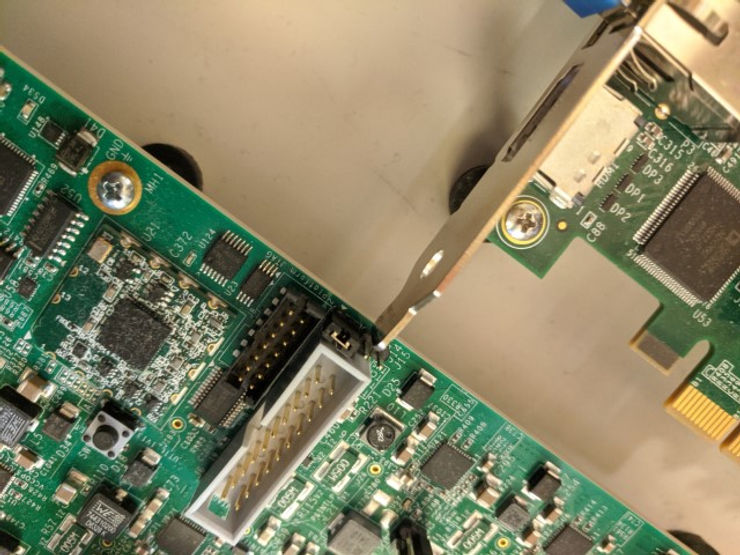
Step #10: Connect the SmartLynq to the ZCU102

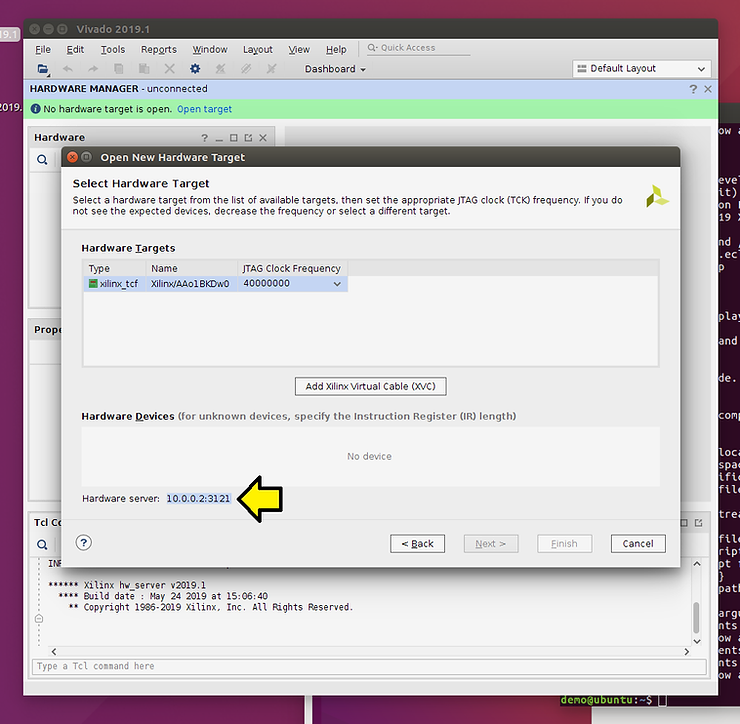
Step #11: Note the Hardware server address
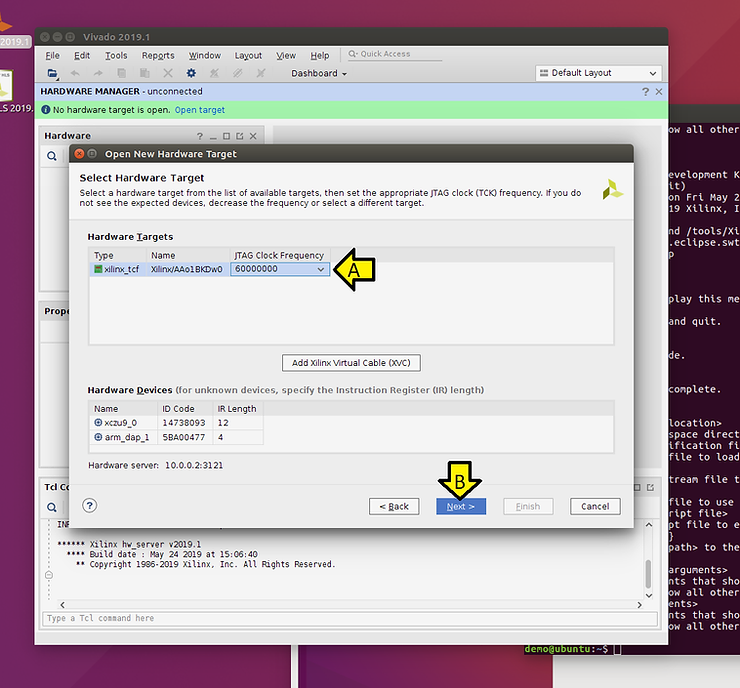
Step #12: (A) Select 60000000 (7 0’s) then you should be able to (B) click Next >
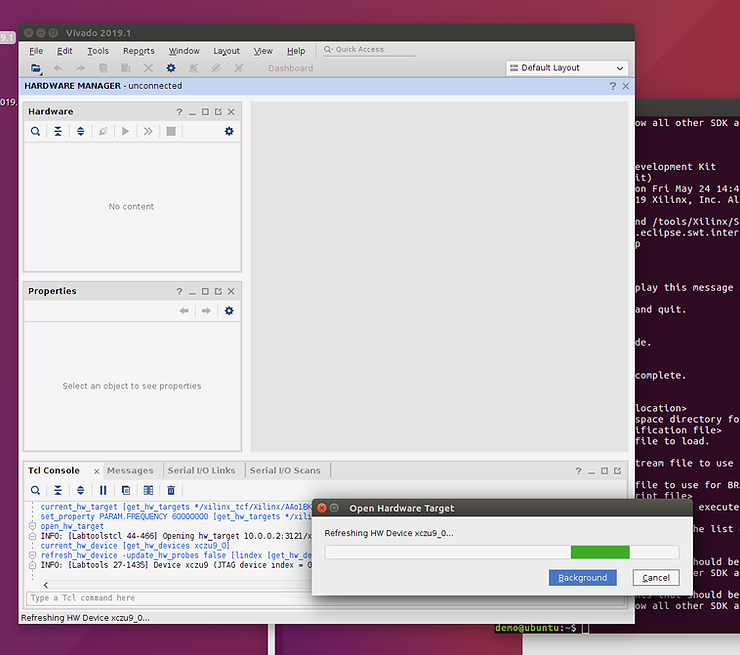
Step #13: Click Finish

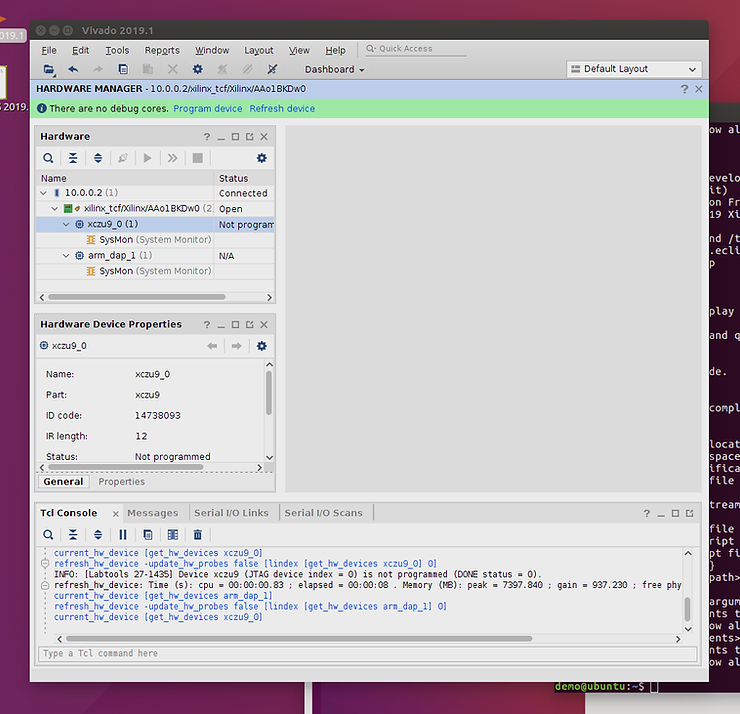
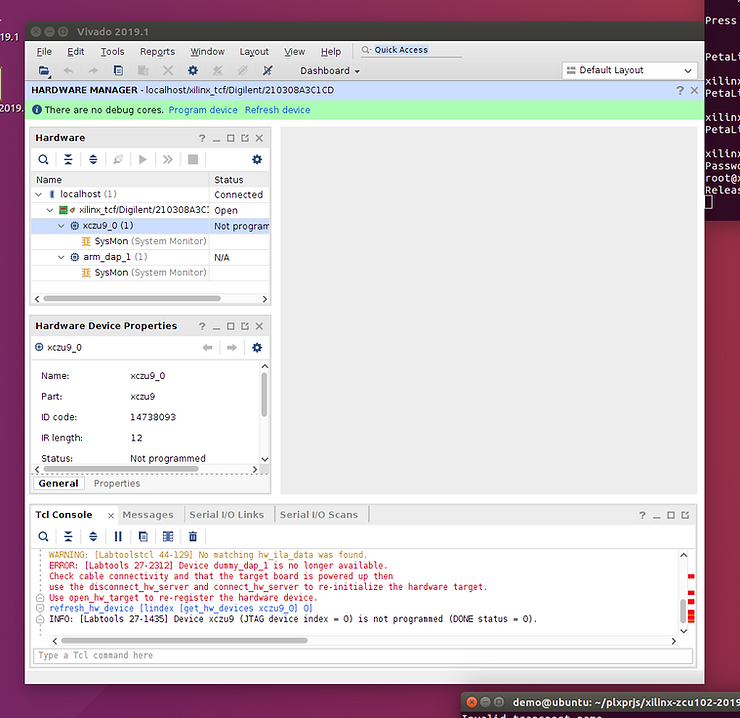
You should see:
…and finally:
Step #14: Test using a PetaLinux ZCU102 load:
Step #: Install PetaLinux 2019.1
mkdir -p $HOME/petalinux
cd ~/Downloads
./petalinux-v2019.1-final-installer.run $HOME/petalinux/2019.1
Step #: Build the xilinx-zcu102-v2019.1-final.bsp
mkdir -p ~/plxprjs
cd ~/plxprjs
source ~/petalinux/2019.1/settings.sh
petalinux-create -t project -s ~/Downloads/xilinx-zcu102-v2019.1-final.bsp
cd xilinx-zcu102-2019.1/
petalinux-build
petalinux-boot –qemu –kernel
Step #: Load it
time petalinux-boot –jtag –kernel –hw_server-url 10.0.0.2:3121
I got:
real 0m51.708s
user 0m3.221s
sys 0m4.290s
Test Using the JTAG-to-USB Connection
Step #1: Disconnect the SmartLynq
Step #2: Connect the UART-to-USB and JTAG-to-USB
Step #3: Click OK
Step #4: Select Future Device Digilent USB Device

Step #5: Click Open New Target…
Step #6 Click Next >
Step #7: (1) Select Local server and (2) click Next >
You should see:
Step #8: Run:
time petalinux-boot –jtag –kernel
I see:
real 3m15.098s
user 0m2.742s
sys 0m1.524s
References
-
Used https://www.bricelam.net/ImageResizer/ to batch resize pictures
-
The Xilinx graphic is from [link]