
Setup a Digital Matter LoRaWAN Guppy Orientation Reference
![]()
This post shows you how to set up an orientation reference for the Digital Matter Guppy.
Hardware
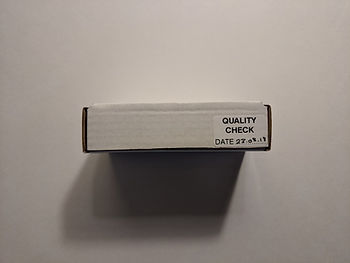
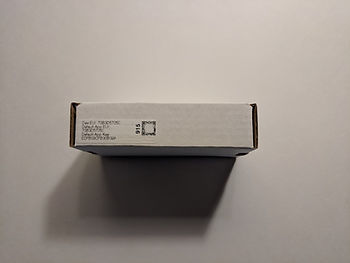
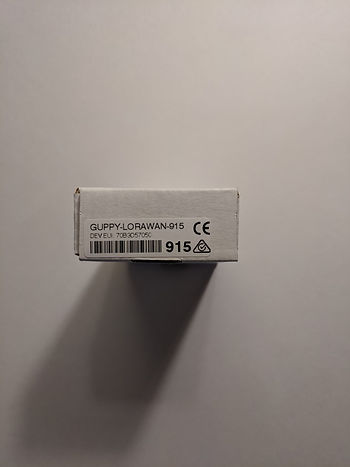
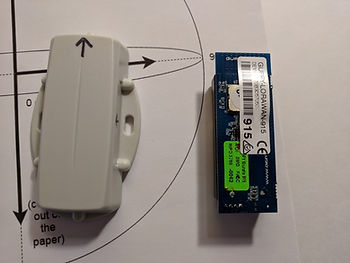
The box
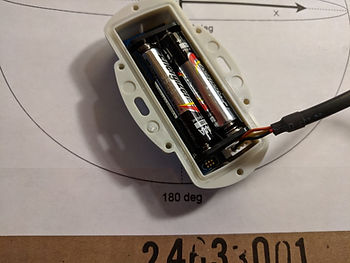
Inside the box
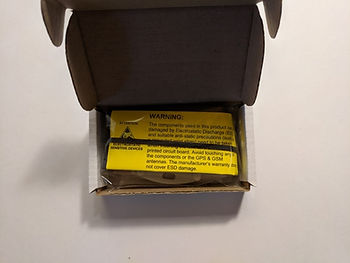
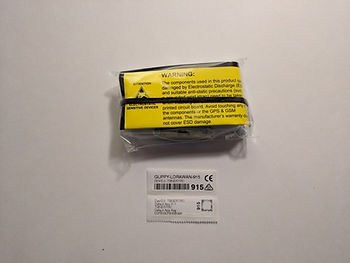
The screws are inside the unit
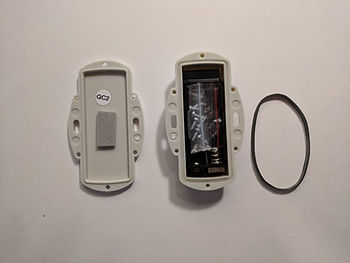
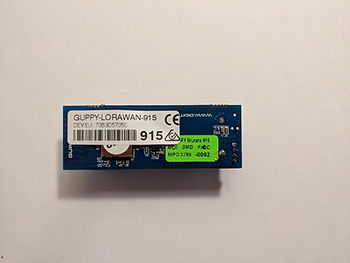
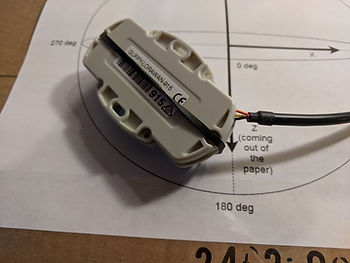
The unit

Orientation Reference
1. Draw orientation arrows on the package with a Sharpie [link]
![]()
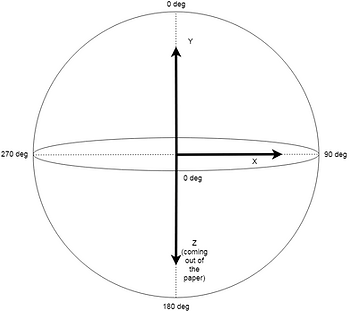
Orientation
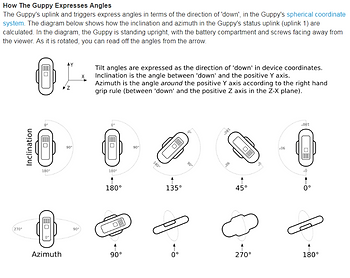
Image from [link]. More orientation notes at [link].
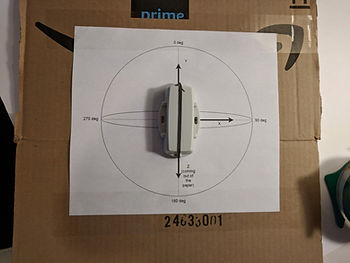
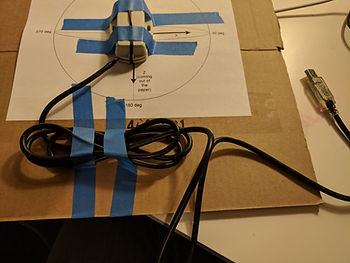
2. Print out this orientation guide
Available at [link].
3. Place unit face up in the package
Batteries should face out
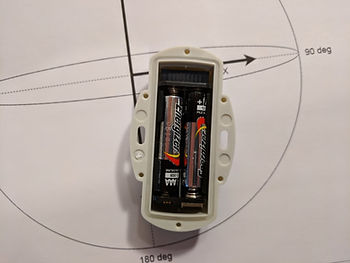
The unit on the orientation diagram
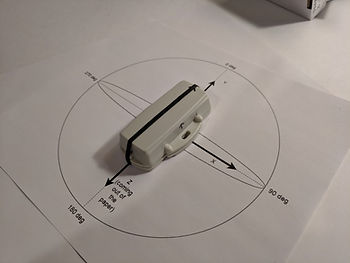
4. Create a board for the orientation diagram

5. Tape the orientation diagram on
6. Before taping the Guppy down, get the serial programming cable
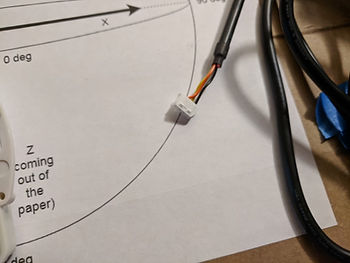
7. Plug it in
8. Close up and put the black rubberband around the unit
9. Tape everything down (Update: it does not appear that you can leave the cable connected)
Reference
Digital Matter logo from [link]