
Start Installing Xilinx’s Vivado 2019.1 on Windows 7 from the Windows Self Extracting Web Install
![]()
This post walks through starting to install a licensed Vivado 2019.1 on Windows 7 from the Windows Self Extracting Web Installer. It was written on May 6th, 2020.
Prerequisites
You’ve downloaded the 2019.1 Windows Self Extracting Web Installer. (See [link] for instructions on downloading).
Steps
Step 1: Double click Xilinx_Vivado_SDK_Web_2019.1_0524_1430_Win64.exe
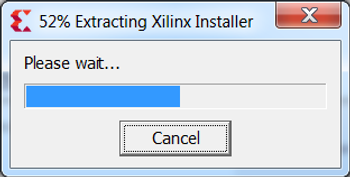
Step 2: Click Run
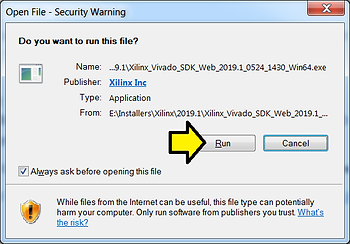
You should see:
Step 3: Click Yes
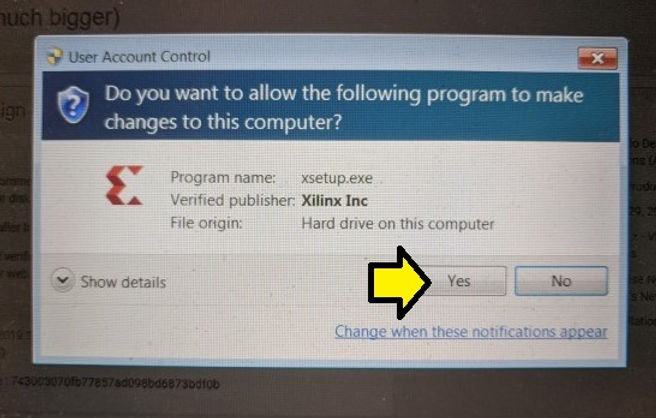
You will see:

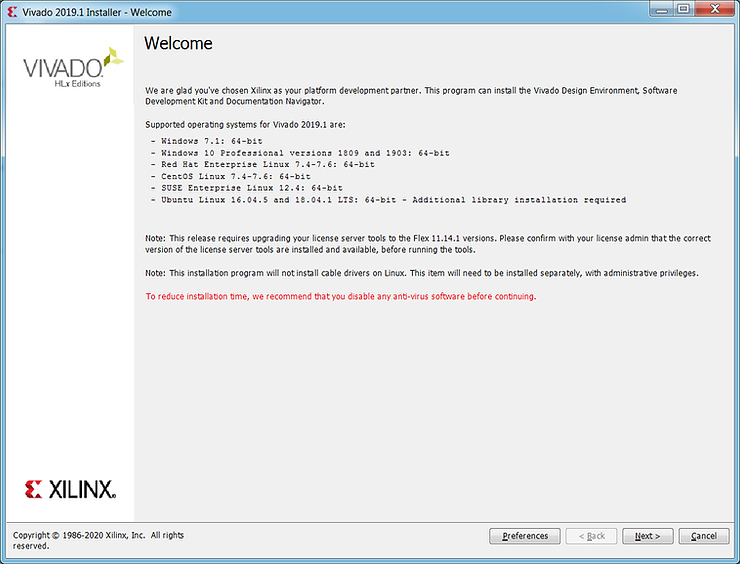
Step 4: Click Continue
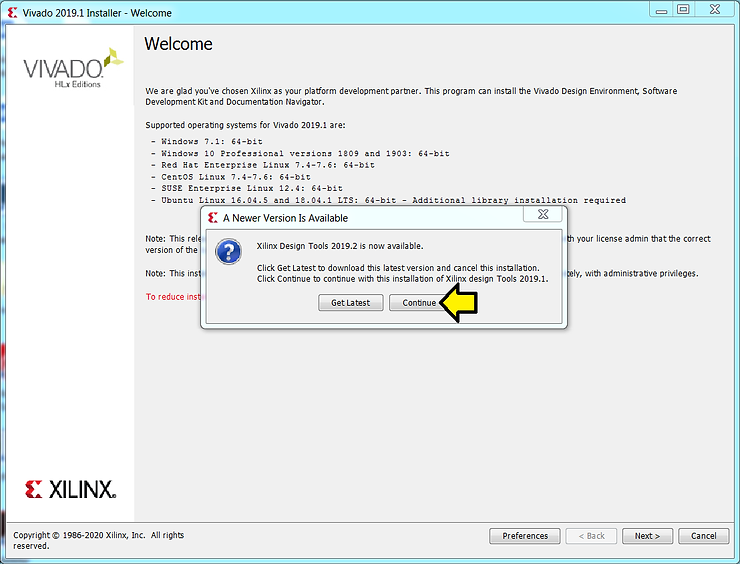
You should see:
References
Xilinx logo from [link]