
(LoRa) Guppy Care and Feeding
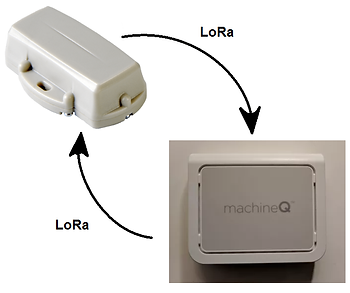
This post shows how work with the digital Matter Guppy geo-location tag for LoRaWAN™ IoT networks on a Multi-Tech MultiConnect® Conduit™ Access Point, model MTCAP-915, MachineQ LoRaWAN gateway. It doesn’t list every step.
Prerequisites
To use a Guppy you must be able to setup and configure a LoRa gateway and setup and configure LoRa nodes (a.k.a. end-devices in the LoRaWAN 1.0.2 spec) on a LoRaWAN network.
See [link] for setting up a Multi-Tech MultiConnect® Conduit™ Access Point model MTCAP-915 MachineQ LoRaWAN gateway.
See [link] for installing the Guppy LoRaWAN Configuration Tool.
Configure the Guppy
1. Connect the Guppy
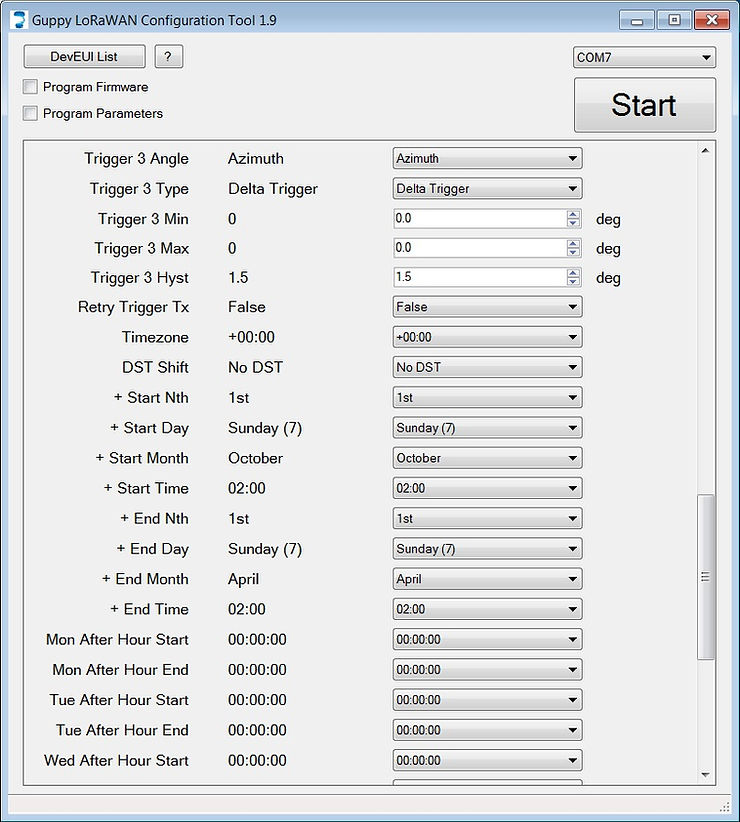
2. Starting with the default:
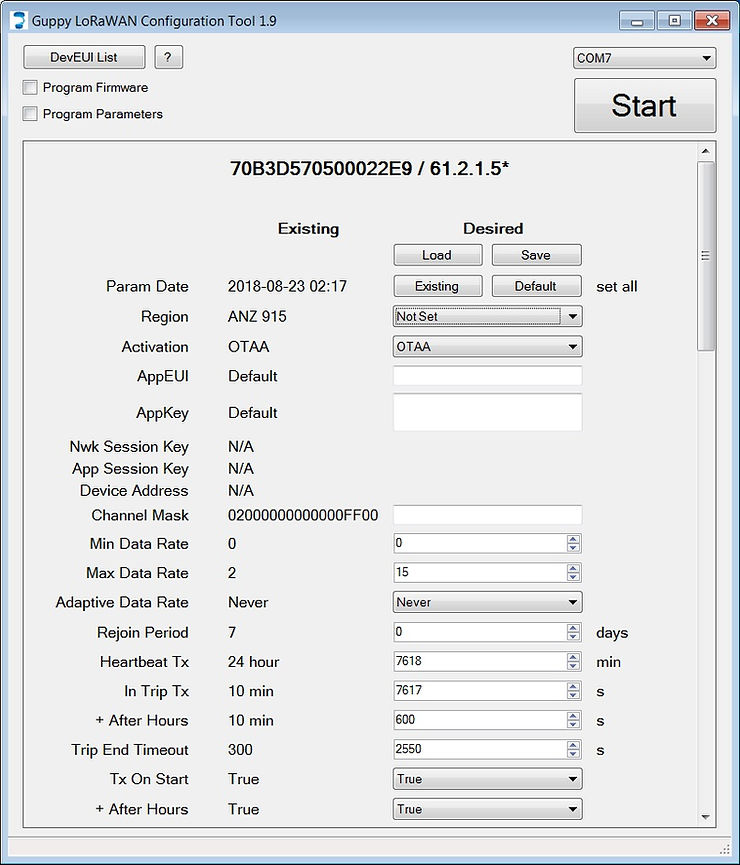
…use these settings:
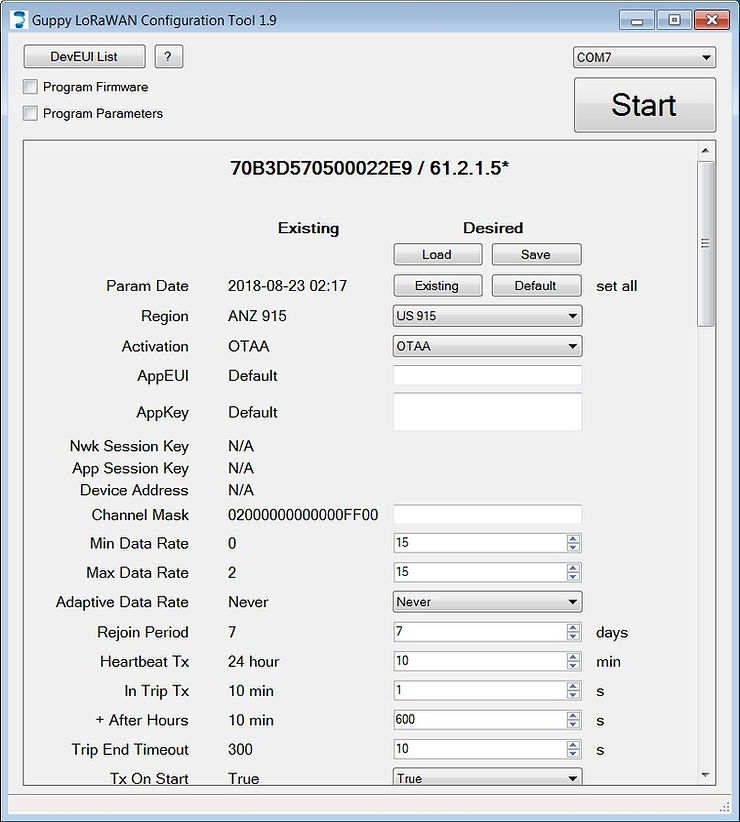
Set Region to US 915
Set Min Data Rate to 15 and Max Data Rate to 15
Set Heartbeat Tx to 10 min
Set In Trip Tx to 1 s
Set Trip End Timeout to 10 s (Update: Set this to 60 s)
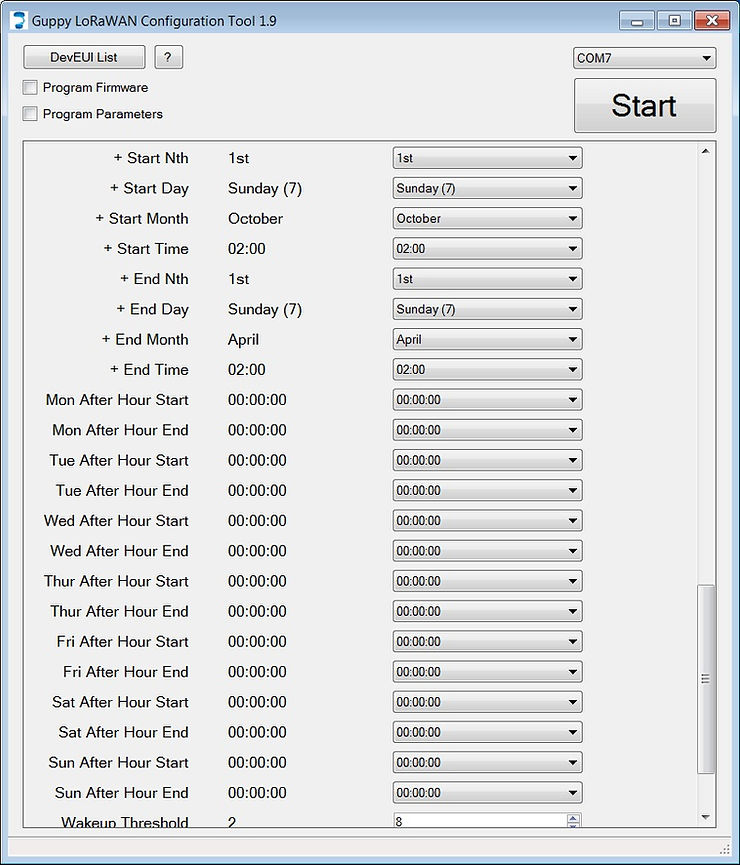
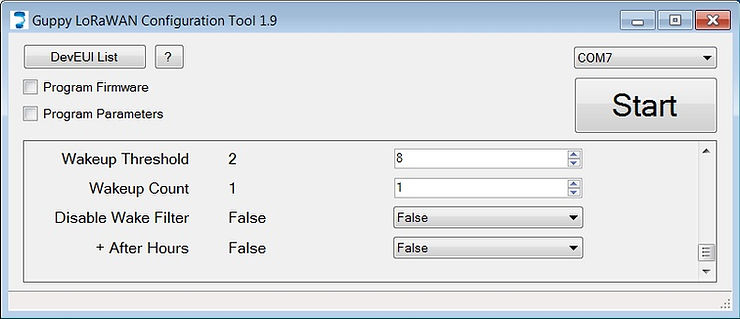
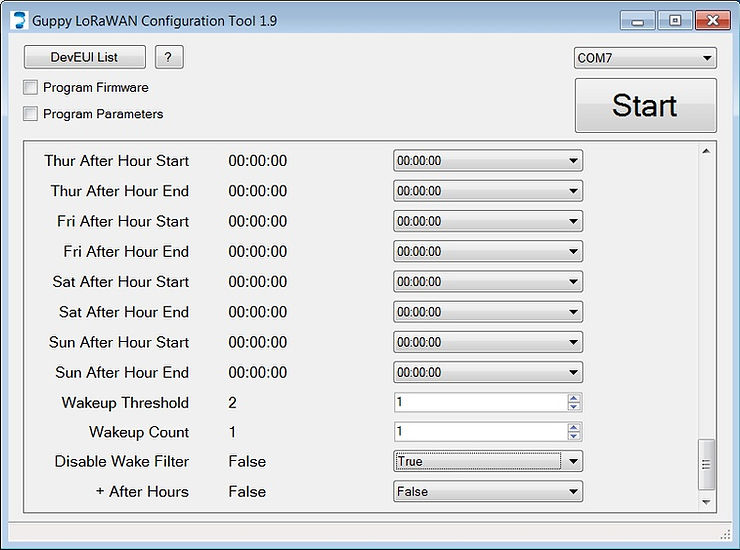
Set Wakeup Threshold to 1
Set Wakeup Count to 1
Set Disable Wake Filter to True
Settings should look like this:
3. Click the Program Parameters checkbox and click Start
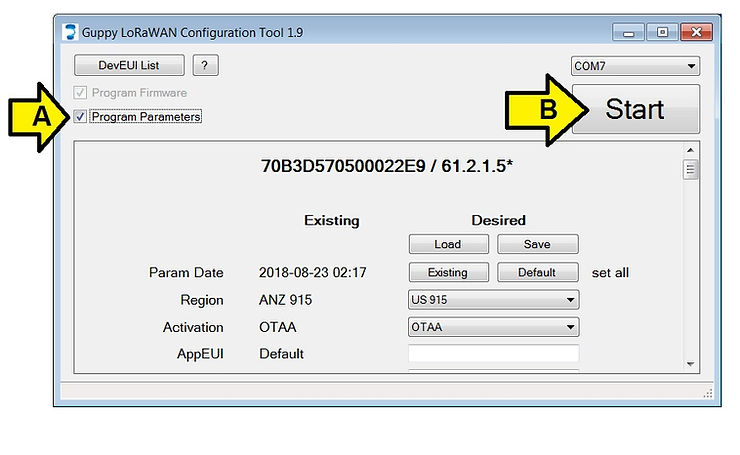
You should see:
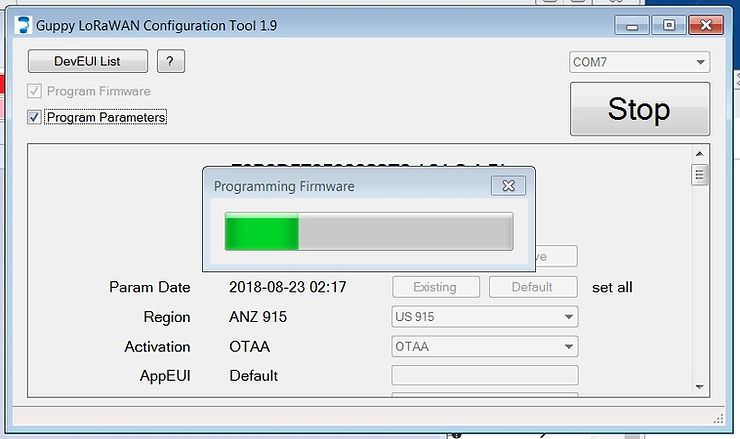
4. After the status bar stops and you hear a bell (if your sound is up) click Stop
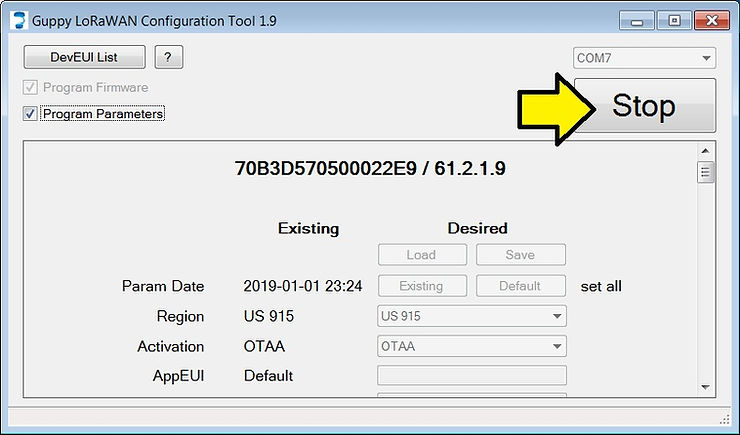
You should see your settings in the Existing column.
5. Unplug the Guppy.
MachineQ Node Provisioning for the Guppy
Use the following info to select the correct device profile configuration template:
-
LoraWan specification version (Lorawan MAC layer): 1.0, 1.0.1 and 1.0.2)
-
Device Class: A, B or C
-
RF Region: FCC USA/ ETSI Europe
-
Device transmit power
For the Guppy this translates to LoRaWAN 1.0.2, Class A, RF Region FCC and transmit power 20 dBm
Use this device profile: LoRaWAN 1.0.2-class A-20dBm-FCC
Steps:
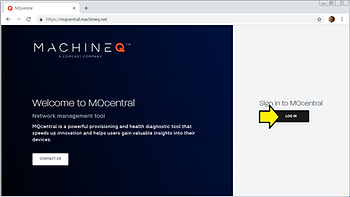
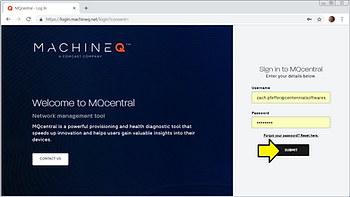
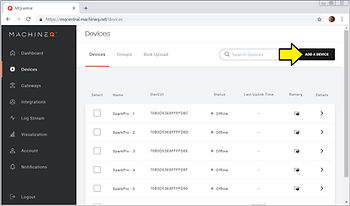
1. Sign into mQCentral at [link]
2. Click Devices
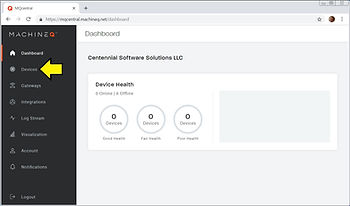
3. Click ADD A DEVICE
4. Fill in the following fields and click SUBMIT
Stars are per-device and found on the stickers included in the Guppy package

5. Click Details (you may not see the device connected, you’ll need to move it around a wait 10 seconds)
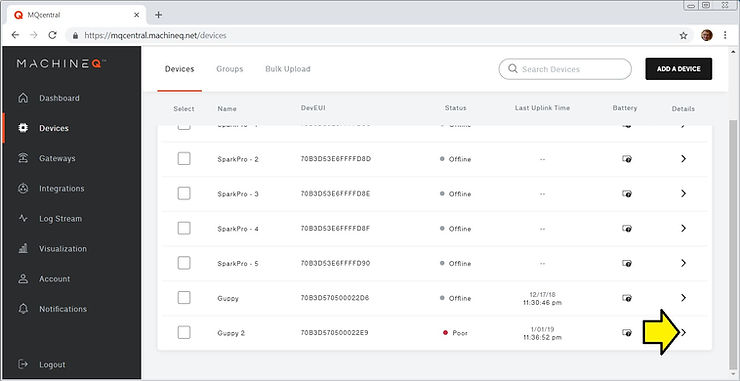
6. Move the unit and wait 10 secs
7. Refresh the mQCentral window
8. Scroll down and you should see a stream:
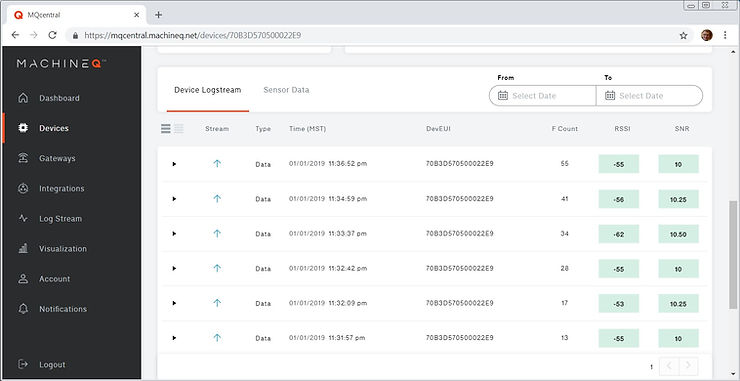
9. Expand one of the Data entries by clicking on the triangle beside the entry:
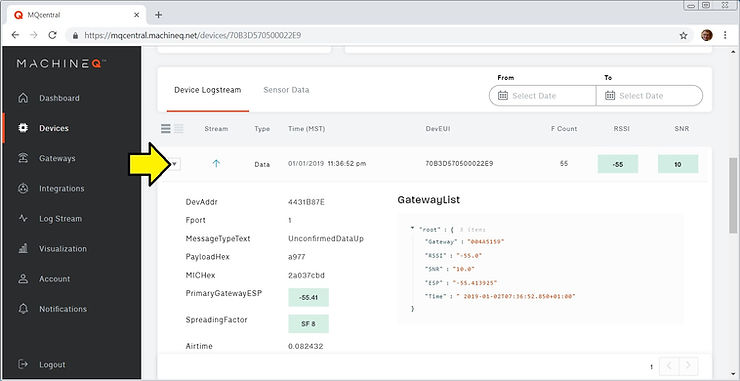
10. Copy PayloadHex
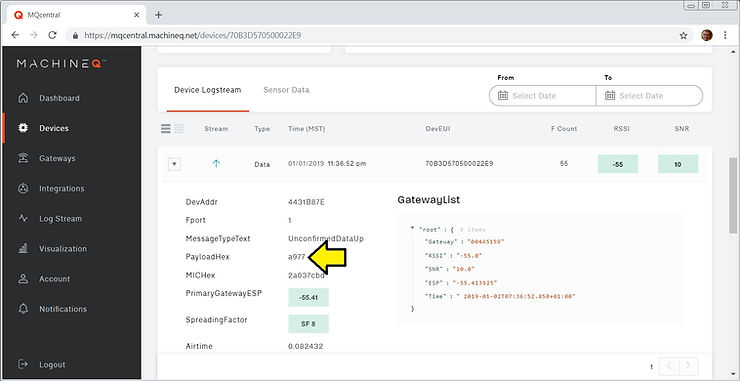
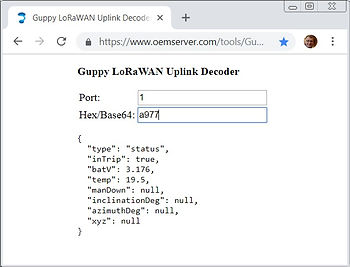
11. Paste into UplinkDecoder at [link]
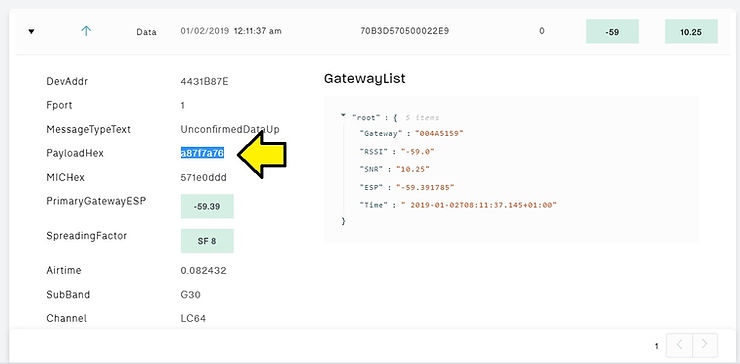
As you refresh the window, more messages will pop up if you move the unit.
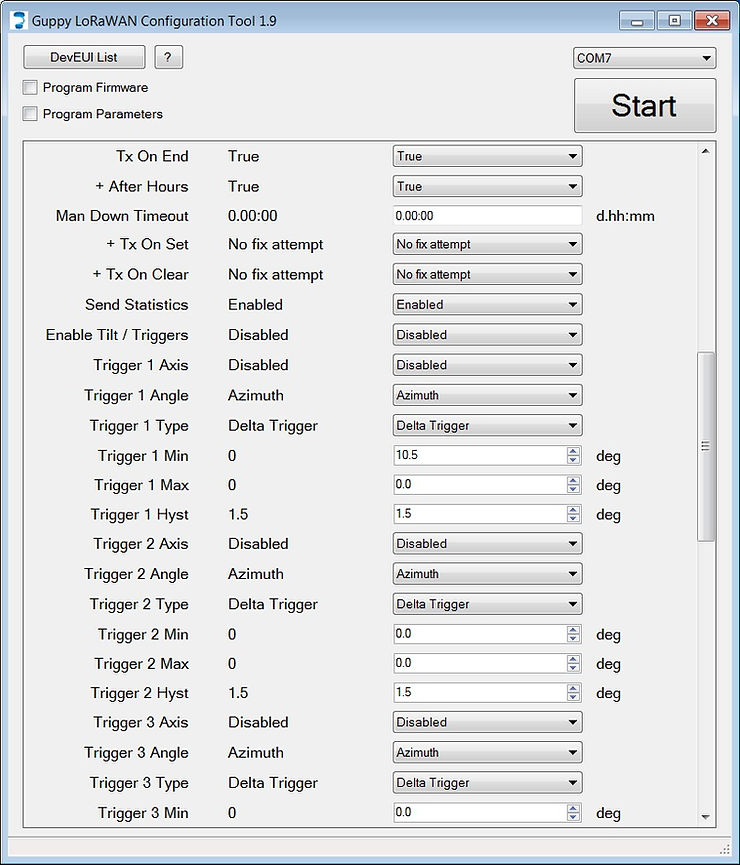
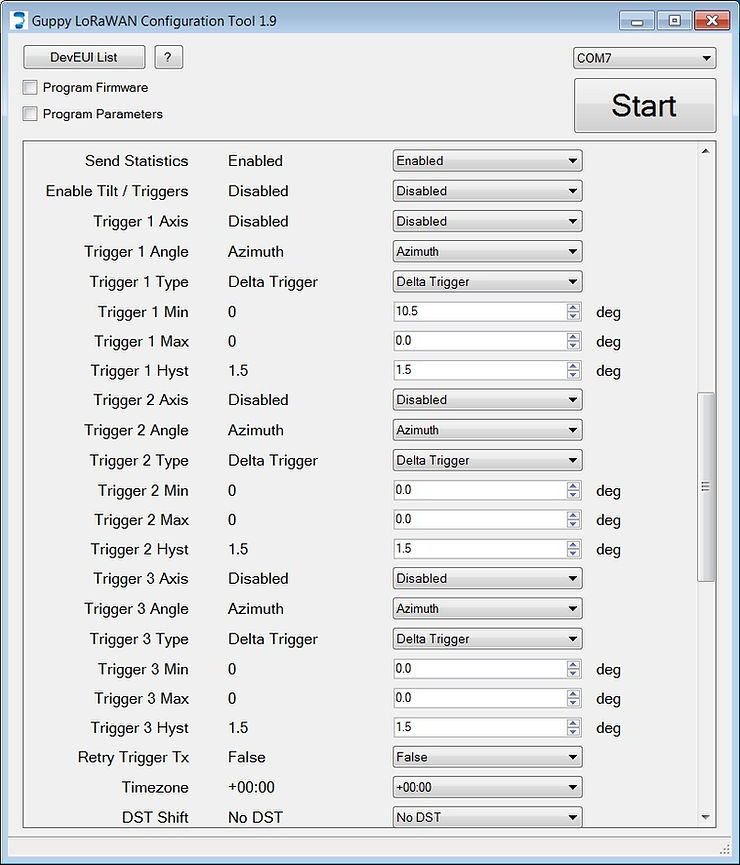
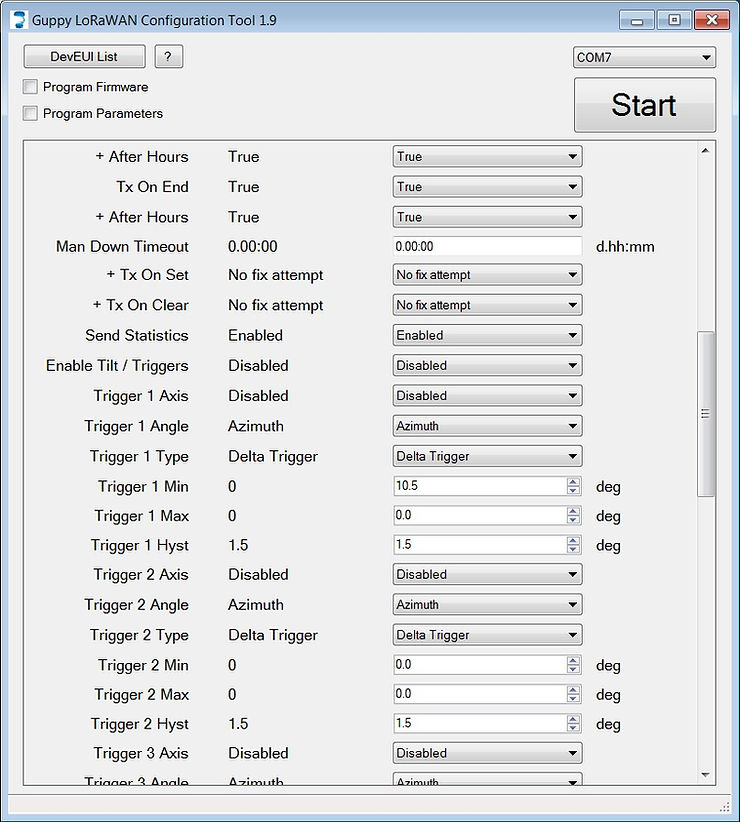
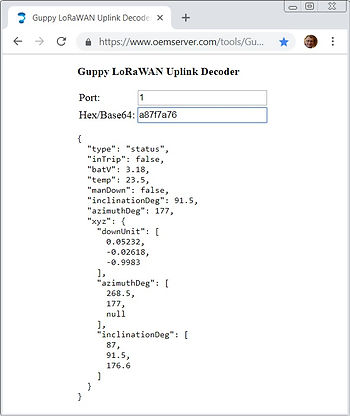
To get additional data from the Guppy, set Enable Tilt / Triggers to Enabled in the Guppy LoRaWAN Configuration Tool 1.9:
Decoded:
The full list of messages is hosted at [link] which links to the actual doc at [link].